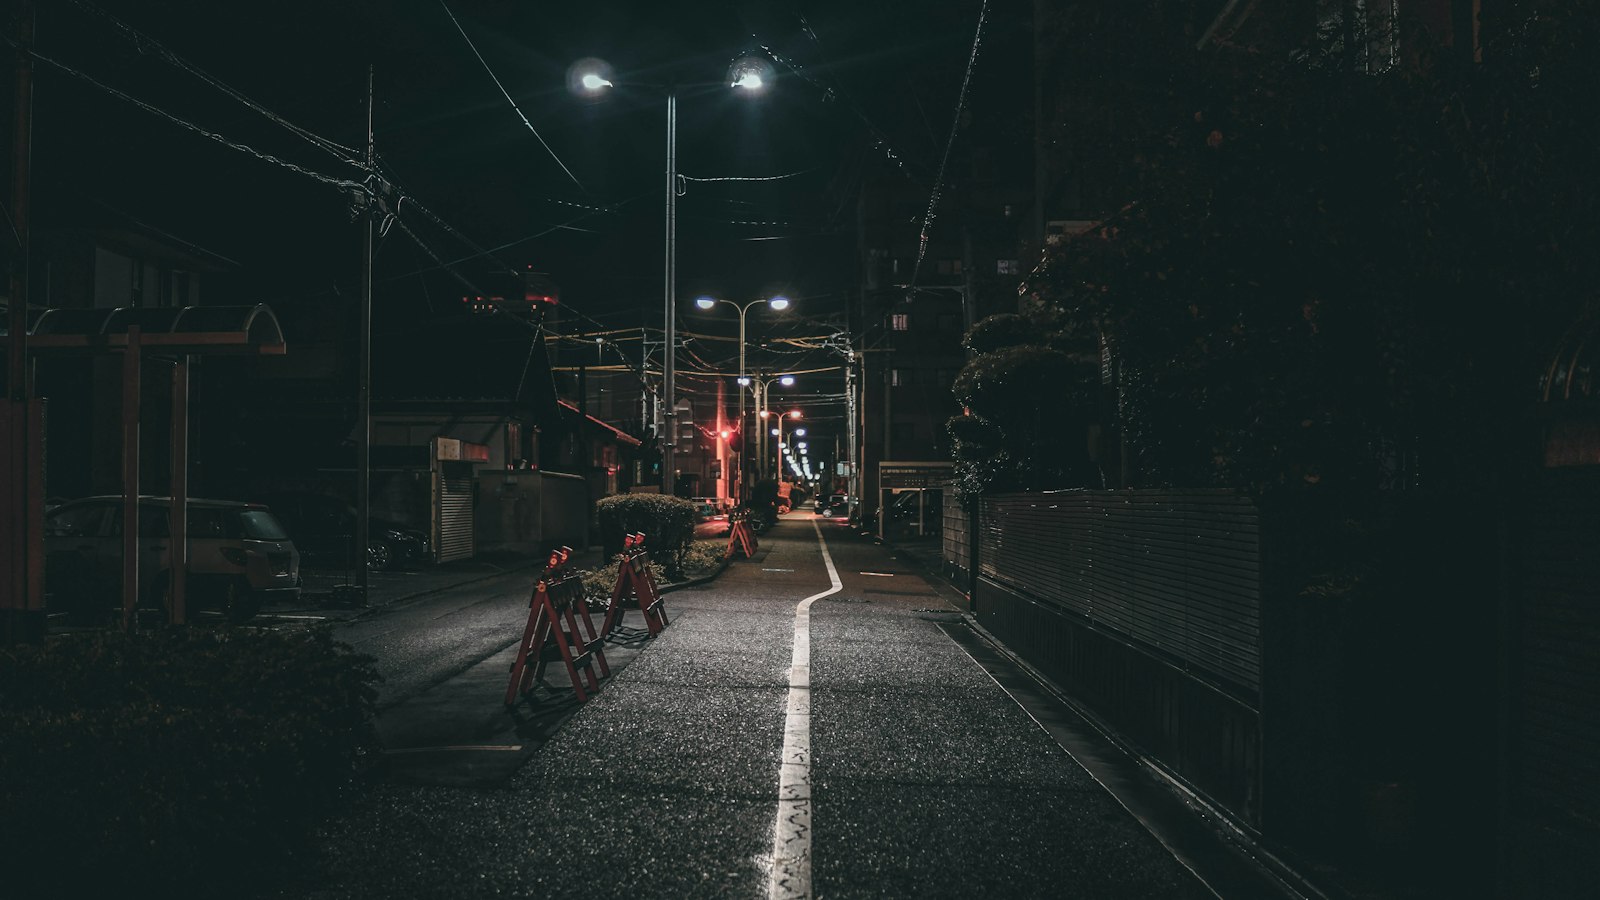
Photo by <a href="https://unsplash.com/@hitthetrailjack?utm_source=tokyodeepnightlife&utm_medium=referral">Caleb Jack</a> on <a href="https://unsplash.com/?utm_source=tokyodeepnightlife&utm_medium=referral">Unsplash</a>
Tokyo looks like a different city once the sun goes down. Signs stack ten stories high, alleys glow red with paper lanterns, and wet pavement turns every crossing into a mirror. If you came to Japan with a camera, Tokyo neon lights photography is probably near the top of your list, and the good news is that most of the best scenes sit within a few stops of each other on the Yamanote Line.
The harder part is knowing which streets are worth your evening, which ones have photo rules, and how to stop your camera from turning every sign into a white blob. This guide covers eight photogenic night spots across Shibuya, Shinjuku, Akihabara, Yurakucho and Ginza, plus settings for cameras and phones, the etiquette locals expect, and a route that links them in one night. Rules and opening hours were checked against official sources in October 2026.
Contents
- What Makes Tokyo Neon Lights Photography Different
- 8 Best Spots for Tokyo Neon Lights Photography
- 1. Shibuya Scramble Crossing: The Classic Street-Level Shot
- 2. SHIBUYA SKY: Neon From 229 Meters Up
- 3. Center Gai (Basketball Street): Signs, Screens and Side Alleys
- 4. Nonbei Yokocho: Shibuya’s Lantern Alley
- 5. Shinjuku: Kabukicho Gate and Omoide Yokocho
- 6. Akihabara Chuo-dori: Electric Town After Dark
- 7. Yurakucho Gado-shita: Lanterns Under the Brick Arches
- 8. Ginza 4-chome Crossing: The Wako Clock Tower
- Camera Settings for Neon Night Photography
- Etiquette for Tokyo Night Photography
- Best Time for Neon Photography in Tokyo
- A One-Night Route Through Tokyo’s Neon Streets
- What do you do in Tokyo After 10?Join our Tokyo Nightlife Private Tour
- See Tokyo’s Neon With Someone Who Lives Here
- About the Author
What Makes Tokyo Neon Lights Photography Different
Most big cities have bright lights. What sets Tokyo apart is density and variety. In one evening you can shoot giant video screens, narrow postwar drinking alleys, electronics-store signage and an old clock tower, all without leaving central Tokyo.
A few things are worth knowing before you go:
- Much of what people call “neon” is now LED. True gas-filled neon tubes are getting rarer, but LED signs and lanterns give the same look on camera. The color, not the technology, is what you’re after.
- The light changes block by block. Shibuya is cold white and blue from screens. Lantern alleys are warm red and orange. Akihabara mixes everything. Expect to adjust white balance as you move.
- Streets are crowded and narrow. You’ll be shooting handheld most of the night, so plan your gear around that.
Tokyo is also one of the safer big cities to walk with a camera at night. The main risks are touts in entertainment districts and missing the last train home, both covered below.
8 Best Spots for Tokyo Neon Lights Photography
The spots are grouped by area so you can string them together without backtracking.
1. Shibuya Scramble Crossing: The Classic Street-Level Shot
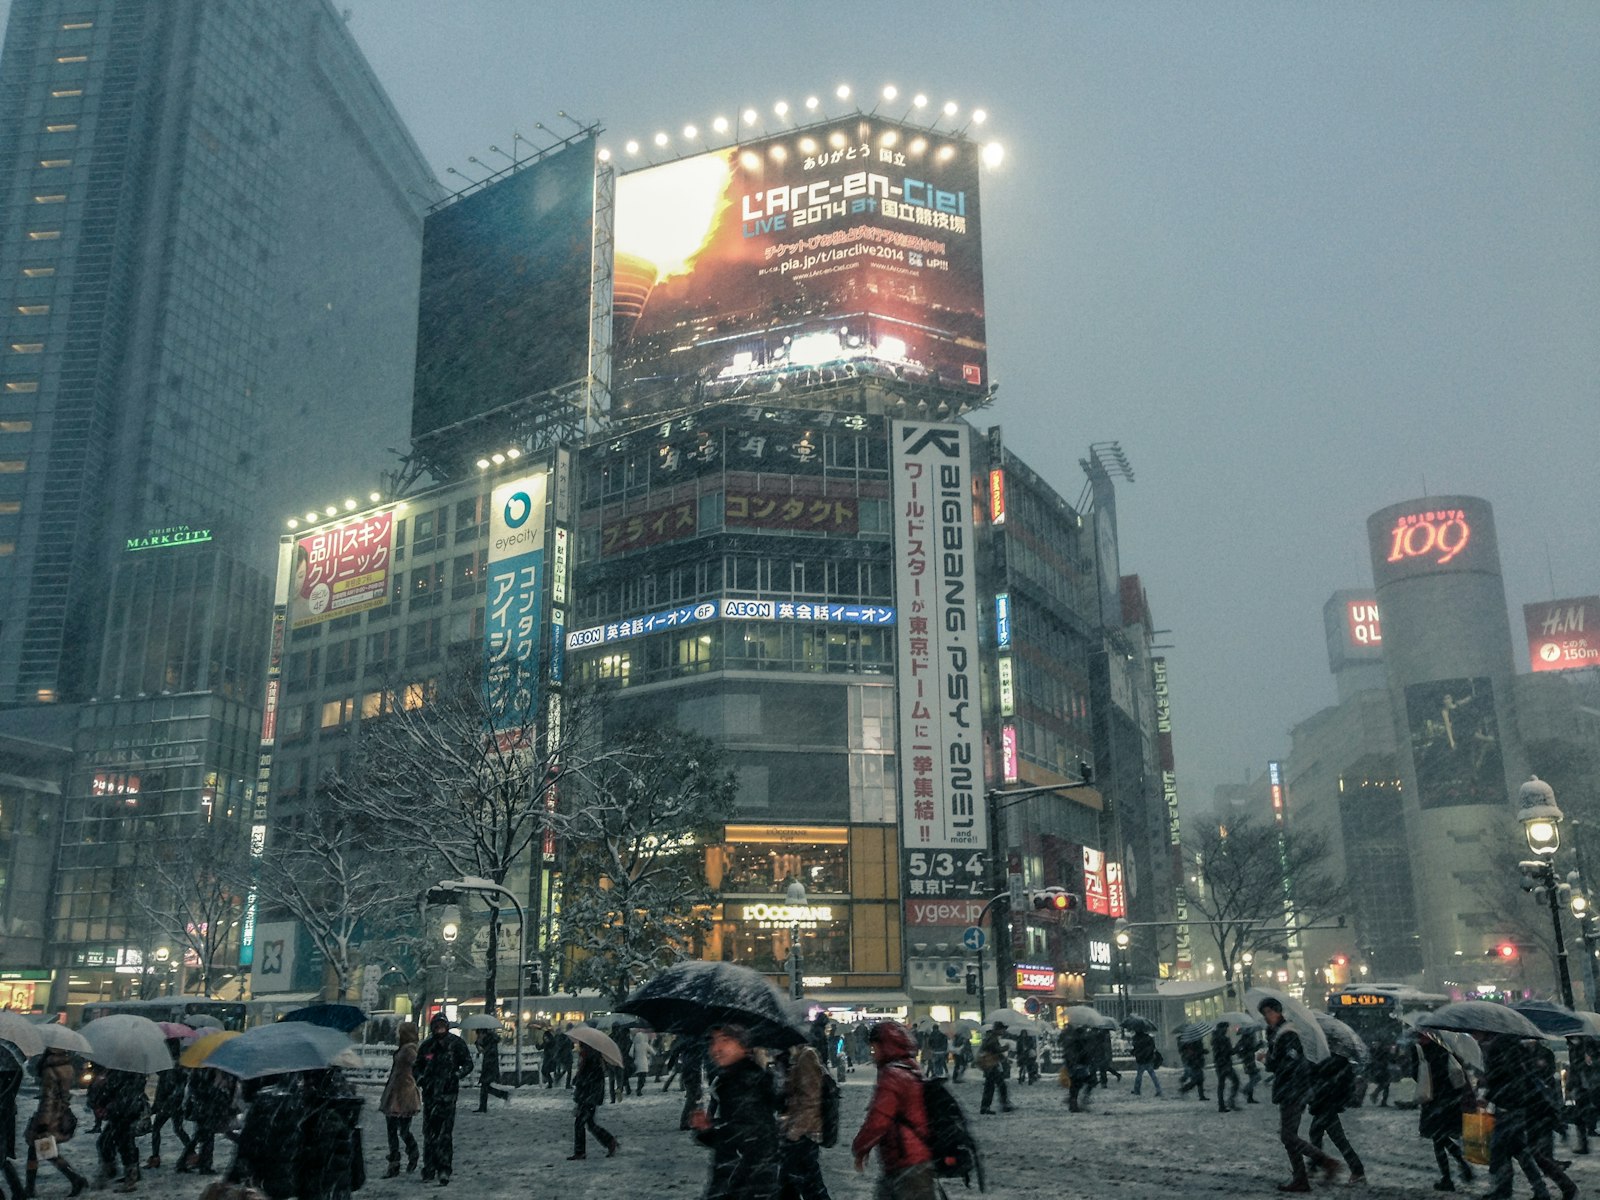
Every Tokyo night photography list starts here, and for good reason. When the lights turn green, crowds pour across the intersection from every direction under a wall of video screens. It’s busiest and brightest after dark.
The street-level shot works best from the corners rather than the middle. Stand on the edge near the Hachiko exit side and wait for the crowd to start moving. A slow shutter of around 1/4 to 1/2 second, braced against a railing, blurs the walkers while the buildings stay sharp. If you have a friend with you, ask them to stand still in the crowd during the exposure. They’ll stay crisp while everyone around them streaks past.
You only get a short window per light cycle, so don’t expect a keeper every time. Shoot several cycles and pick the best frame later.
2. SHIBUYA SKY: Neon From 229 Meters Up
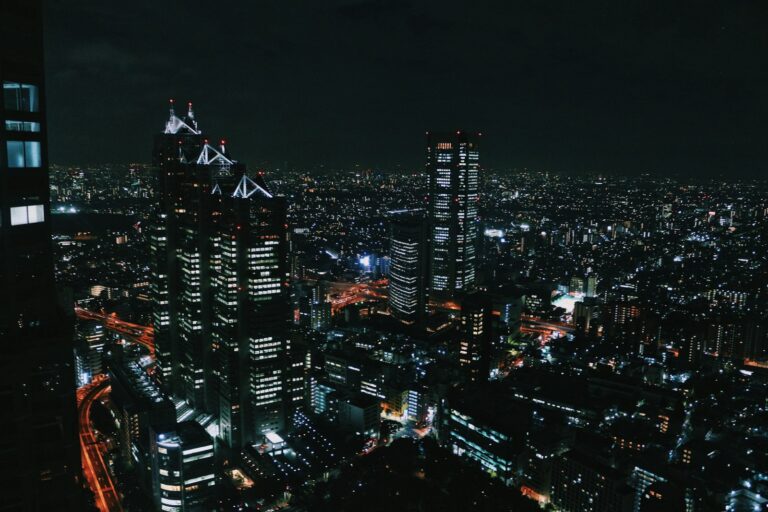
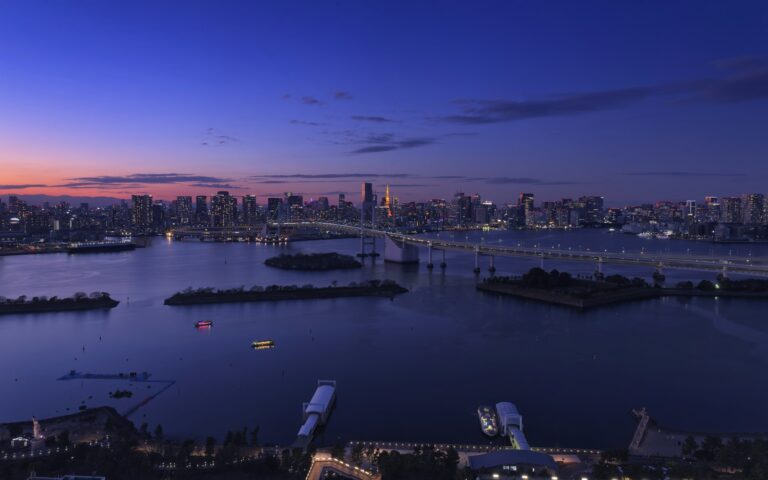
For the view looking down on the crossing and the city lights, head to SHIBUYA SKY, the rooftop observation space on top of Shibuya Scramble Square. It sits 229 meters above ground and connects directly to Shibuya Station. According to the official GO TOKYO listing, it’s open 10:00 to 22:30 with last admission at 21:20, and it can close in bad weather.
Know the rules before you plan a shoot around it:
- Tripods and selfie sticks are not allowed.
- Cameras are allowed only if they have a strap or fit in a pocket. Bags and spare lenses go into a locker on the 46th floor.
- Loose hats are banned because of wind on the open rooftop.
In practice, that means one body and one lens. A wide-angle zoom is the most useful choice. Arrive before sunset and stay through blue hour, the 20 to 40 minutes after sunset when the sky is still deep blue and the city is fully lit. Tickets can sell out at popular times, so book ahead on the official site.
3. Center Gai (Basketball Street): Signs, Screens and Side Alleys
Right off the crossing, Center Gai is Shibuya’s main pedestrian street. Its official name has been “Basketball Street” since 2011, though almost everyone still calls it Center Gai. At night it’s lined with lit signs from shops, fast-food chains and game centers.
The main street is busy and a little chaotic to frame. The better shots usually come from the side lanes that branch off it, where signs are packed closer together and there are fewer people in the way. Shoot down the length of a lane with a 35mm or 50mm lens to stack the signs on top of each other.
For bars and places to eat once you’ve put the camera away, see our local’s guide to Shibuya nightlife.
4. Nonbei Yokocho: Shibuya’s Lantern Alley
A few minutes’ walk north of the crossing, along the JR tracks toward Miyashita Park, Nonbei Yokocho is a tiny strip of drinking spots from the Showa era. GO TOKYO’s directory describes it as about 40 small izakaya. Most seat only a handful of people.
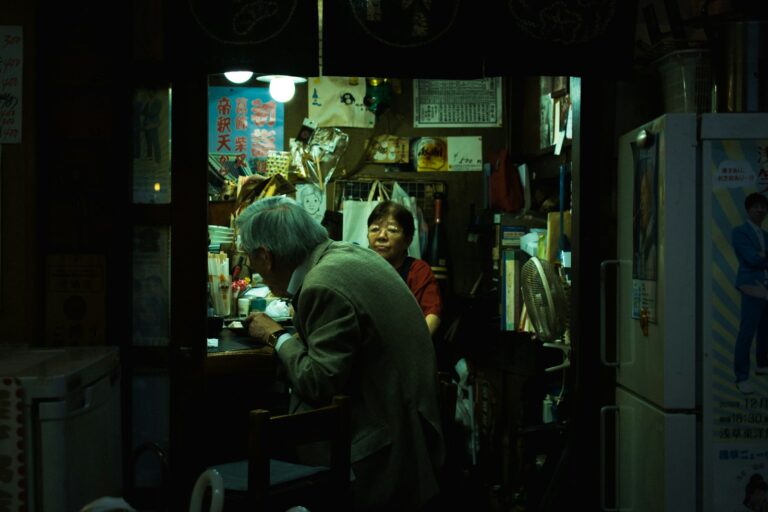
This is where you go for warm light: red lanterns, wooden fronts and handwritten signs in a space barely wider than your arms. Most bars open in the evening, so come after about 6pm when the lanterns are lit.
Treat it gently. These are working bars, not a film set. Shoot the alley from the entrances, keep the flash off, and don’t point a lens through a doorway into someone’s six-seat counter. If you want a shot inside, have a drink first and ask.
5. Shinjuku: Kabukicho Gate and Omoide Yokocho
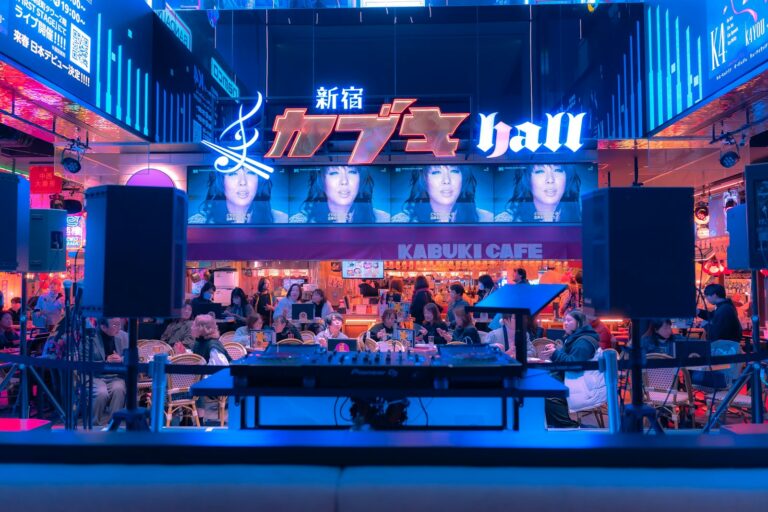
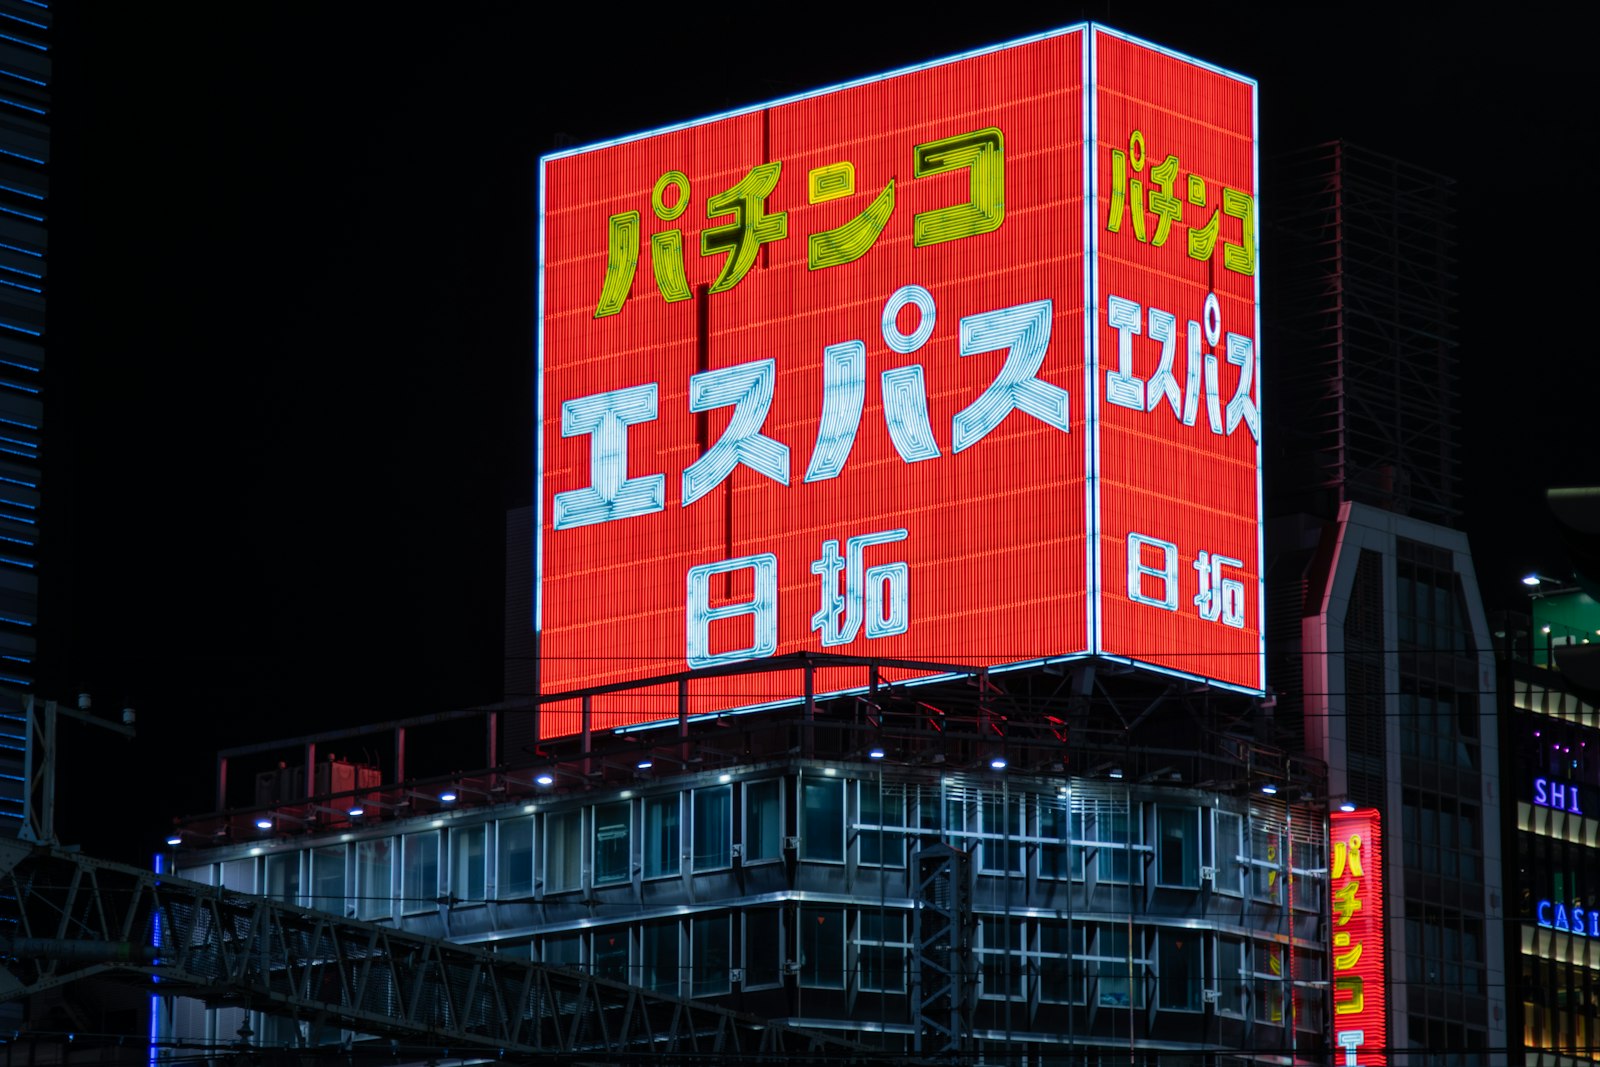
Shinjuku deserves a full night on its own. If you only have an hour or two, focus on two looks: full neon at the red Kabukicho Ichibangai gate, and lanterns and grill smoke in Omoide Yokocho by the west exit. The two are about a ten-minute walk apart, and together they cover the full range of Tokyo’s night colors.
One rule matters more here than anywhere else in this guide. Golden Gai’s lanes are private, and the local association prohibits photography on the street without permission. It looks like the perfect neon alley, but keep the camera in your bag there.
We’ve covered seven Shinjuku locations in detail, including the free Tokyo Metropolitan Government Building observation deck and its projection-mapping show, in our Shinjuku neon street photography guide. Kabukicho also has touts and overpriced bars, so never follow anyone off the street into a venue, however friendly they seem.
6. Akihabara Chuo-dori: Electric Town After Dark
Leave Akihabara Station by the Electric Town Exit and you’re on Chuo-dori, the district’s main street. Both sides are covered in signs for game centers, electronics stores and anime shops, and the JR Sobu Line crosses overhead on an elevated track.
This is a good spot for Tokyo cyberpunk photos. Two angles work well:
- Down the length of Chuo-dori from the sidewalk, with a wide lens to fit the signs on both sides.
- The railway bridge with a train passing, so you get the lit carriages framed against the signs. A shutter around 1/15 to 1/30 second gives the train some motion while the buildings stay sharp.
Akihabara’s signs are bright and colorful, but many shops close earlier than bars in Shinjuku or Shibuya. Come in the early evening, right after dark, when the stores are still open and the signs are all lit.
7. Yurakucho Gado-shita: Lanterns Under the Brick Arches
Yurakucho is one stop south of Tokyo Station on the Yamanote Line, and it has one of the most atmospheric night scenes in central Tokyo. Locals call it “gado-shita,” meaning “under the girders.” Restaurants and yakitori stalls fill the old brick arches beneath the elevated tracks. According to japan-guide.com, the strip runs about 700 meters along both sides of the station.
For photos, you get warm lanterns, smoke from the grills, office workers drinking at outdoor tables, and trains rumbling overhead. It feels completely different from Shibuya’s screens. Shoot with a fast prime lens (f/1.8 or f/2) for low light. A short telephoto works well to compress the lanterns and arches into one frame.
It gets busy with office workers after work on weekdays. As with any working alley, step aside to shoot and ask before photographing people at their tables.
8. Ginza 4-chome Crossing: The Wako Clock Tower
A short walk east of Yurakucho Station brings you to Ginza, where the night look is more polished. The landmark is the clock tower on the Wako building at the Ginza 4-chome crossing. The current tower was completed in 1932, and it’s lit up at night against the glass storefronts of the luxury brands around it.
It’s a good contrast to the rest of this list: clean lines, symmetrical architecture and fewer crowds. Shoot from the corners of the crossing as the light changes, or find a raised viewpoint across the street. With a wide aperture and a slightly slow shutter, the car headlights on Chuo-dori turn into soft streaks under the tower.
If you want a drink nearby, our guide to Ginza bars at night covers classic cocktail lounges within walking distance of the crossing.
Camera Settings for Neon Night Photography
Neon is bright, but the streets around it are dark. That confuses automatic exposure, which tries to brighten the shadows and blows the signs out to white. These neon photography tips are a starting point for mirrorless cameras and DSLRs:
- Expose for the signs. Dial in exposure compensation of around −0.7 to −1 so the neon keeps its color.
- ISO 800–3200. Grain is better than a blurry shot, and modern sensors handle it well.
- Aperture f/1.8–f/2.8 for street scenes and portraits, f/5.6–f/8 for wider cityscapes where you want everything sharp.
- Shutter 1/125 for walking people, 1/4 to 1/2 for deliberate crowd blur. Brace against a pole or wall instead of using a tripod on busy streets.
- White balance around 3800–4500K. Auto white balance tends to push neon scenes orange. A cooler setting brings back the blues and magentas.
- Shoot RAW if your camera supports it. Mixed color sources are much easier to fix afterward.
Lenses to Pack
You don’t need much. A wide zoom (around 16–35mm) covers rooftop views and wide streets. A fast prime (35mm or 50mm at f/1.8) handles alleys and portraits. If you can carry only one lens, bring the prime. Remember that SHIBUYA SKY only allows a camera with a strap, so a single lens is all you’ll have up there anyway.
Shooting Neon on a Smartphone
Phones are good at night now, but a few adjustments help:
- Tap the brightest sign to set focus and exposure, then drag the exposure slider down slightly.
- Use Night mode for still scenes like the view from SHIBUYA SKY or the Wako clock tower.
- Turn Night mode off for street shots with people. It takes a longer exposure and smears anyone who moves.
- Clean the lens. A fingerprint turns every light into a hazy glow, and you’ll notice it more at night than in the day.
Looking for Adult Entertainment Services in Tokyo? Download this
I’ve spent over a decade exploring and studying Japan’s adult entertainment scene firsthand. If you’d like detailed insider information—including how to choose the right shop, what services are available, and tips for avoiding common mistakes—check out our exclusive E-book.
Etiquette for Tokyo Night Photography
Street photography in public spaces is common in Japan, but there are norms visitors often miss.
- Ask before photographing people up close. A gesture toward your camera and a smile works. If someone shakes their head or makes an X with their arms, move on.
- Leave the tripod at your hotel for street areas. Sidewalks are crowded, and a tripod blocks people. Many places, including SHIBUYA SKY, don’t allow them at all.
- Turn off the flash. It ruins the neon look anyway and annoys people eating in open-front restaurants.
- Respect “no photo” signs. You’ll see them in Golden Gai and on some bars and clubs. They mean it.
- Don’t photograph touts or club staff in entertainment districts. Many don’t want to be identified, and arguments do happen.
- Keep moving in narrow alleys. In Nonbei Yokocho or Omoide Yokocho, stopping in the middle of the lane to frame a shot blocks everyone. Shoot from the ends or step into a gap.
Best Time for Neon Photography in Tokyo
Blue hour (roughly 20 to 40 minutes after sunset) is the best time for skylines and wide street scenes. The sky still has color, the signs are fully lit, and both show up in one exposure. Be on a rooftop or at a big crossing for this window.
Early evening is best for Akihabara, when the shops are still open, and for lantern alleys before they fill up.
Later at night suits Shibuya and Shinjuku. Crowds change, taxis add moving light, and the streets feel more cinematic.
Rainy nights are underrated. Reflections double the neon, umbrellas add color, and fewer people are out. Pack a small umbrella and get low to catch the reflections in puddles.
A One-Night Route Through Tokyo’s Neon Streets
You can cover most of this guide in one evening by riding the Yamanote Line. Here’s a route that follows the light:
- Before sunset: SHIBUYA SKY for blue hour over the city (book your time slot in advance).
- Early evening: Down to the Shibuya Scramble Crossing, then the side lanes of Center Gai and the lanterns of Nonbei Yokocho.
- Ride the Yamanote Line to Yurakucho: Shoot the gado-shita arches, then walk to the Wako clock tower in Ginza.
- Later: Yamanote Line to Akihabara if you want signs while shops are still open, or to Shinjuku for the Kabukicho gate and Omoide Yokocho late at night.
That’s a lot for one night, so drop a stop if you’d rather take your time. If you stay out late in Shinjuku or Shibuya, check when the last train leaves. Our Tokyo last train survival guide explains what to do if you miss it.
What do you do in Tokyo After 10?
Join our Tokyo Nightlife Private Tour
You deserve better than overpriced bars and missed opportunities. We’re here for you.
See Tokyo’s Neon With Someone Who Lives Here
The spots in this guide are the famous ones. The shots that stand out usually come from the alleys nobody posts about, the rooftop bars that never show up on a map, and from knowing which places welcome a camera and which ones don’t.
If you’d like to explore Tokyo’s neon streets with a local who can take you between the photogenic spots and into the bars behind them, have a look at our Tokyo After 10 nightlife private tour. Bring your camera, and let someone who’s out in these streets every night handle where to go next.